How to Properly Begin the Restoration Process

Restoring motorcycles is an activity that you will surely love. It is something that you can be proud of and it will give you a sense of accomplishment once you finished your motorcycle restoration project. However, you need to keep in mind that this kind of hobby will require a lot of time, money and dedication.
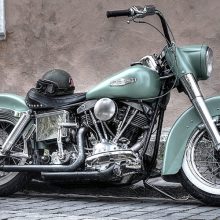
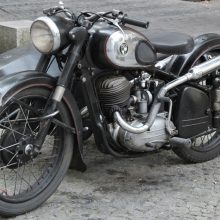
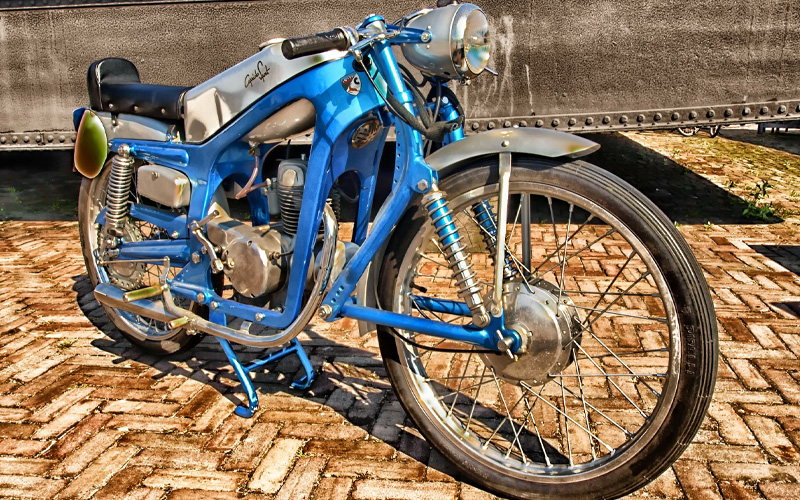
If you are just starting out in this kind of hobby, choose a motorcycle make and model that is considered to be easy to restore. Don’t go for ultra rare and very old models because these motorcycles can cost you a lot of money to restore and you will also have a hard time looking for spare parts for it.
As a beginner in the world of motorcycle restoration, this will only leave you frustrated. You should remember that motorcycle enthusiasts who are involved in restoring very rare and very old bikes spend a lot of money for spare parts. In fact, some of them even travel across the country or even abroad just to obtain hard to find parts for their motorcycle restoration project.
Now that you have your motorcycle to restore, you need to know how to properly begin the restoration process. Before you start restoring the motorcycle, you need to arrange your work shop for the project. You need to get the supplies that you need, such as cardboard boxes, a sharpie, a digital camera or a video camera, and some tags for labeling.
These things will help you keep track of the parts that you take off the bike and will help you keep things organized. By doing this, you will have an easier time figuring out what you need to do next after stripping down your motorcycle.
Keep in mind that keeping track of the parts that you take off the motorcycle is better to do sooner rather than later.
You also need to know what part needs to be replaced and what needs to be repaired. By organizing it, you will be able to avoid wasting good parts and determine what you need without any hassle. This will save you a lot of time and money for the entire restoration project.
You need to take inventory of the parts that you take off the bike. And, you should also put parts on two separate cardboard boxes, which are labeled replace and repair. As you take each part off, try to take pictures of them in order for you to know what they look like. You should also label each part.
Doing this process will help you estimate how much money you need to spend and also how much time you need to finish the entire project.
After you remove the parts from the motorcycle frame, the next step is the cleaning process. This means that you need to reduce the frame of the bike in to bare metal. The easiest way to do this is to have the frame dipped in acid. This will remove rust, dust, and other foreign materials.
By doing this, you will be able to get a better look at the overall condition of the frame. You will see rust holes, dents, as well as other damages that you will need to repair. You need to take note that even if the motorcycle is in good condition when you purchased it, the motorcycle has had an event filled life.
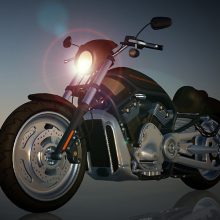
After you finish restoring the frame, you are now ready to work on the other parts of the motorcycle, such as the front and rear fender, the seat, the forks, the electrical parts, the brakes, and last but not least, the engine.
Remember these tips and you will be able to have an easier time during your first ever motorcycle restoration project.